November is here are promoting Black Friday Deals hard, but what could be more special than sharing your love and light of giving by sharing your art?
Today’s cards share my whimsical side of crafting by using Stampin’ Up!’s Snowflake Magic Specialty DSP to create focal images for two cards without the use of stamps or dies. This challenged me to expand my creativity, as well as stretch my paper supplies, while designing two cards I will be proud to share with my family and friends this holiday season.
The best part is that both are easy to reproduce in bulk. Don’t wait, let’s make this season magical, and create these cards.
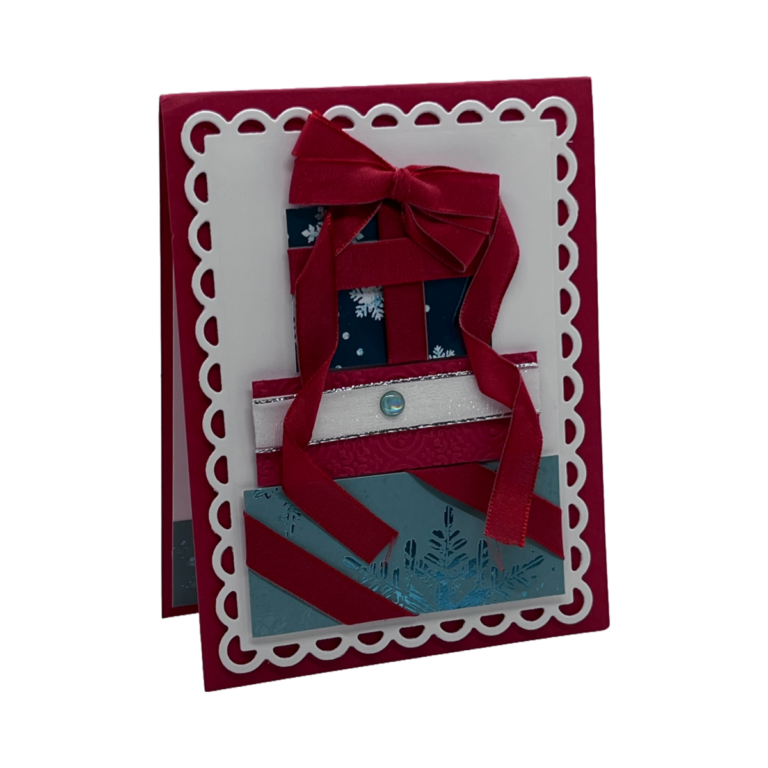
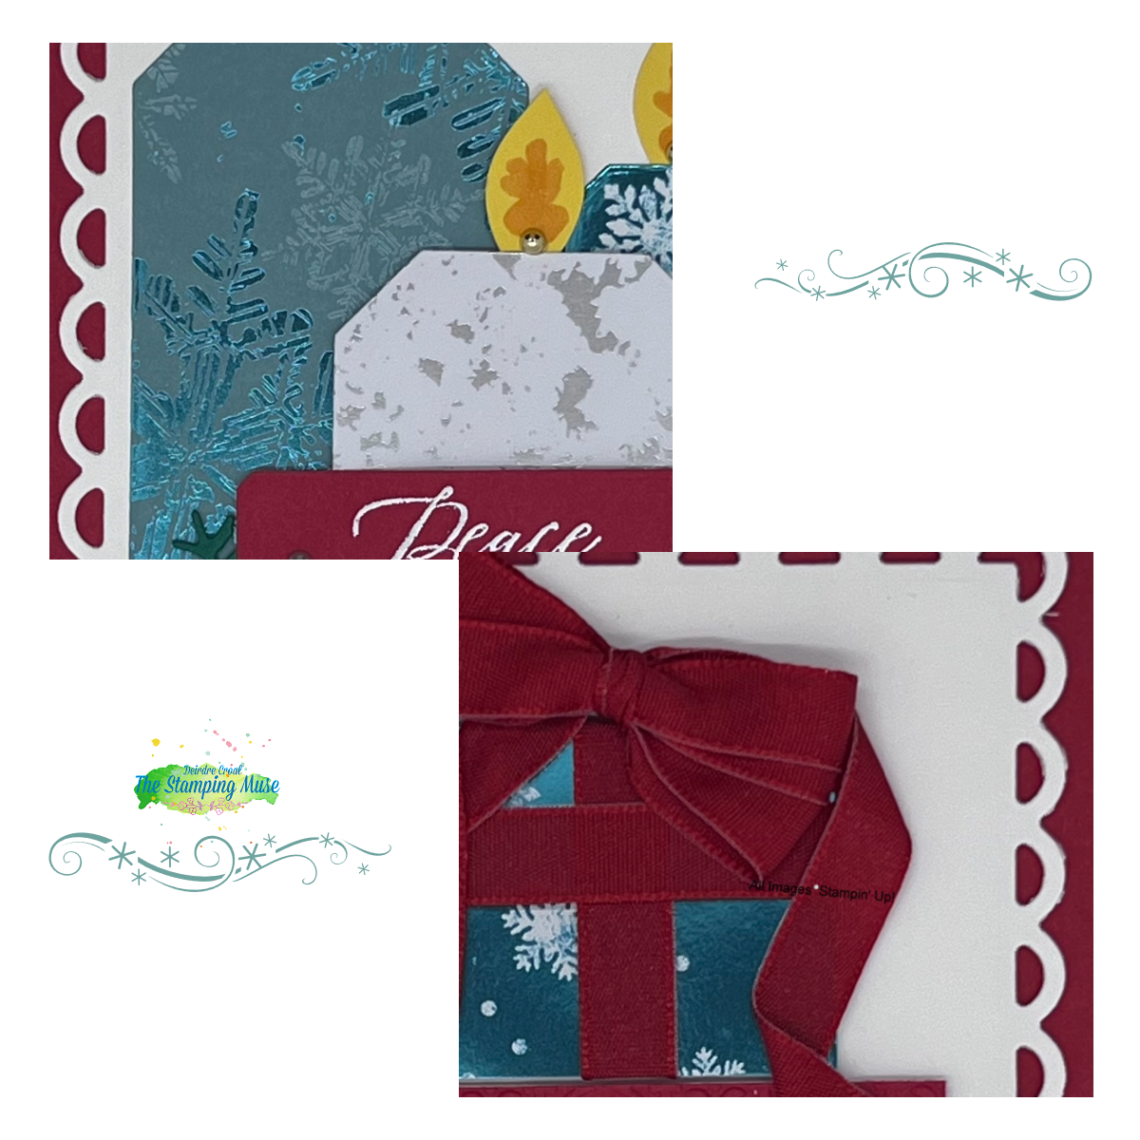
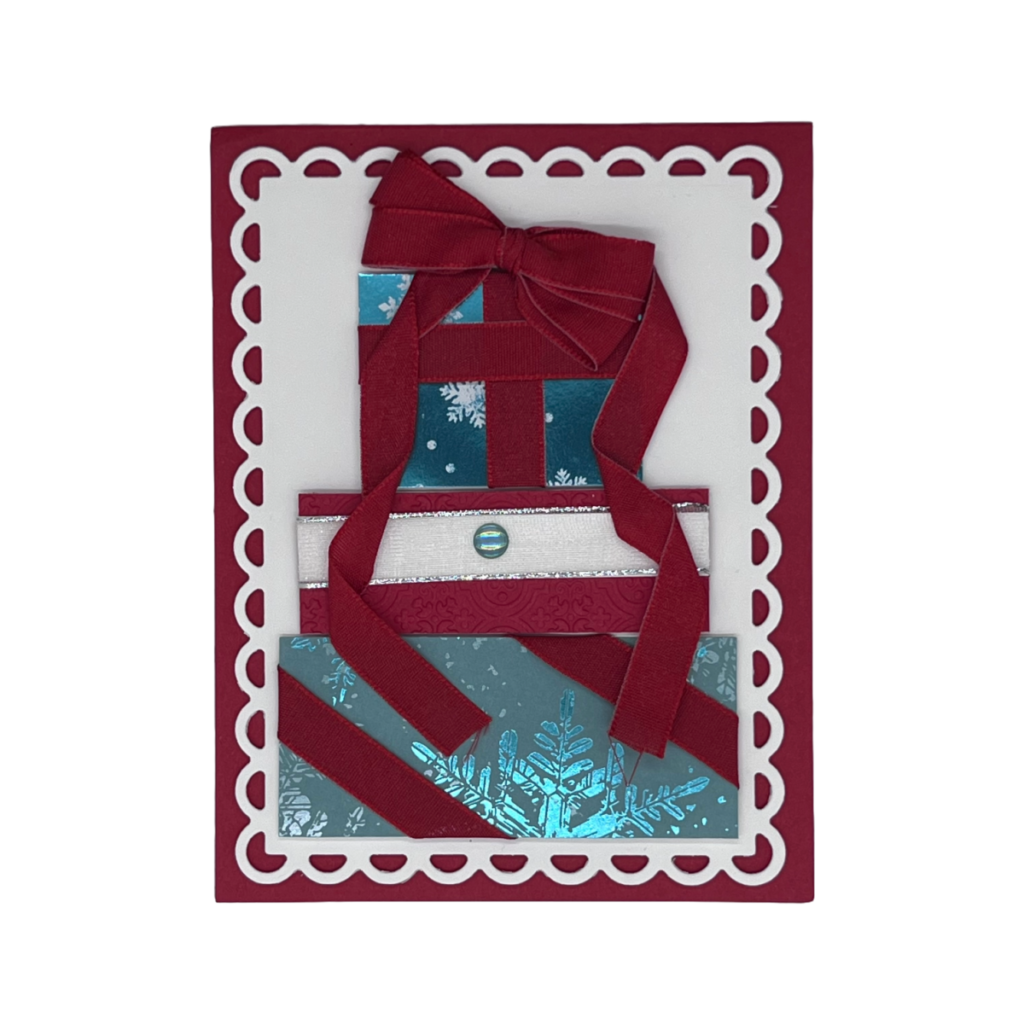
I created a stack of gifts for the focal image on card #1. Two of the gifts are created with the two Lost Lagoon pieces of the Snowflake Magic Specialty DSP. I wrapped Real Red ribbon around the top and bottom gifts, Silver & White Ribbon around the middle gift, and topped the stack with a long flowing triple bow.
I did die cut the Basic White mat with the Scalloped Contour Dies and dry emboss the Real Red package with the Quatrefoil Tile 3D embossing folder, but this card would look wonderful without either of these features.
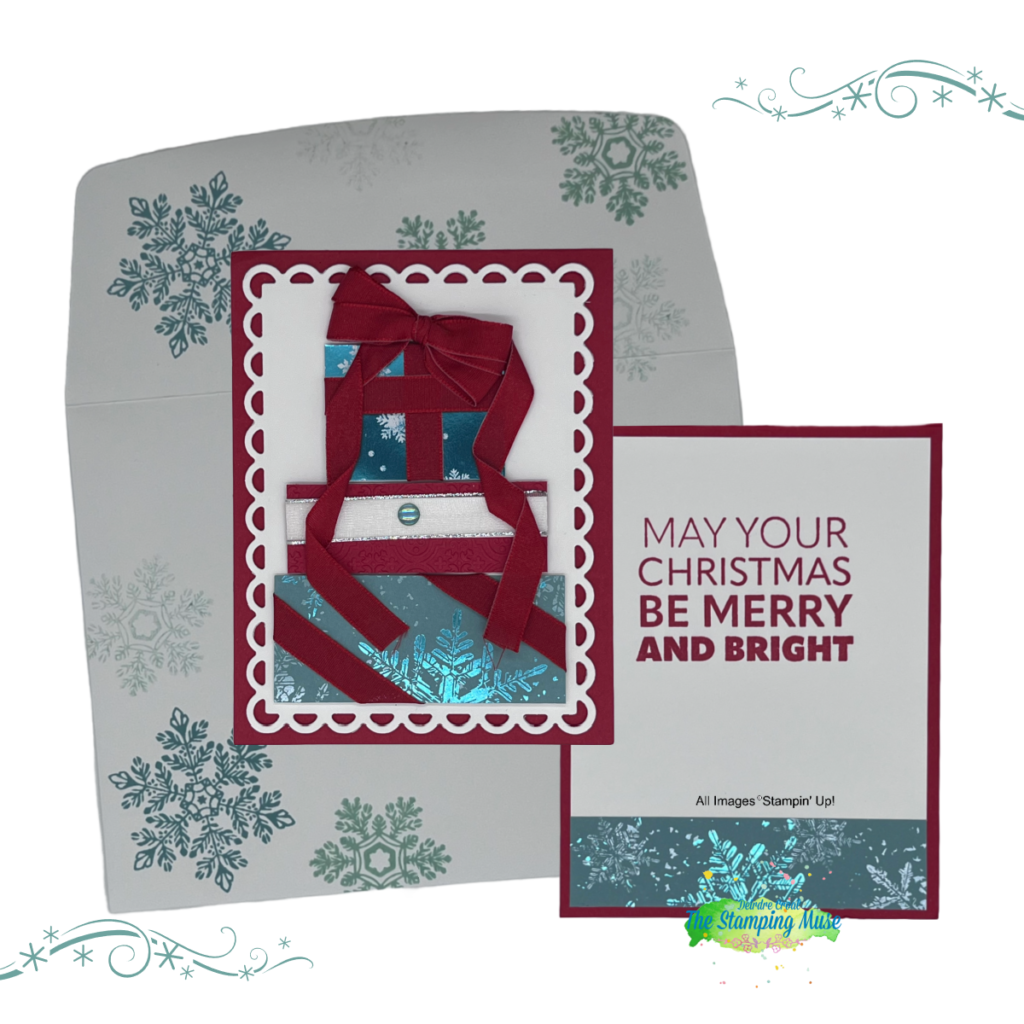
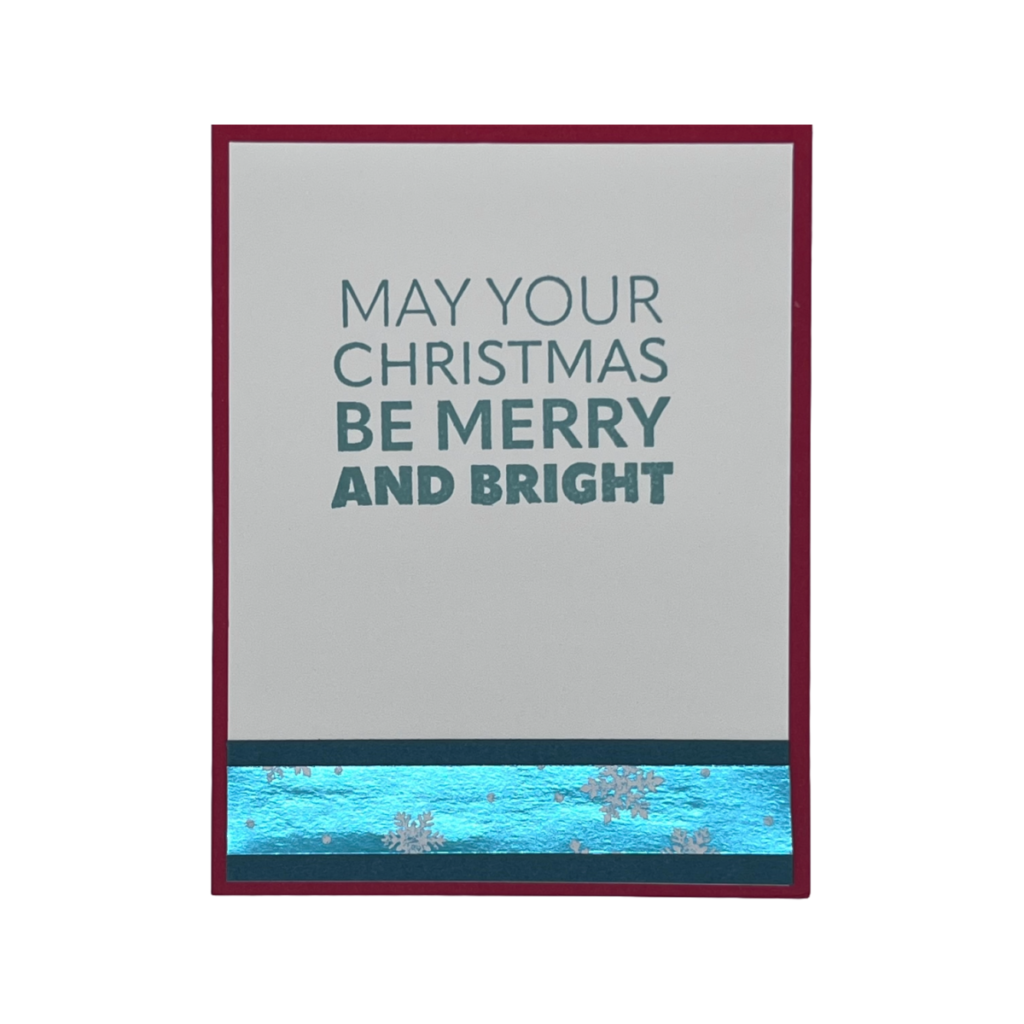
The interior design of the card I kept simple. The sentiment, stamped in Real Red ink, is from the Joy to You stamp set. A strip of Snowflake Magic DSP was added along the bottom edge of the Basic White mat.
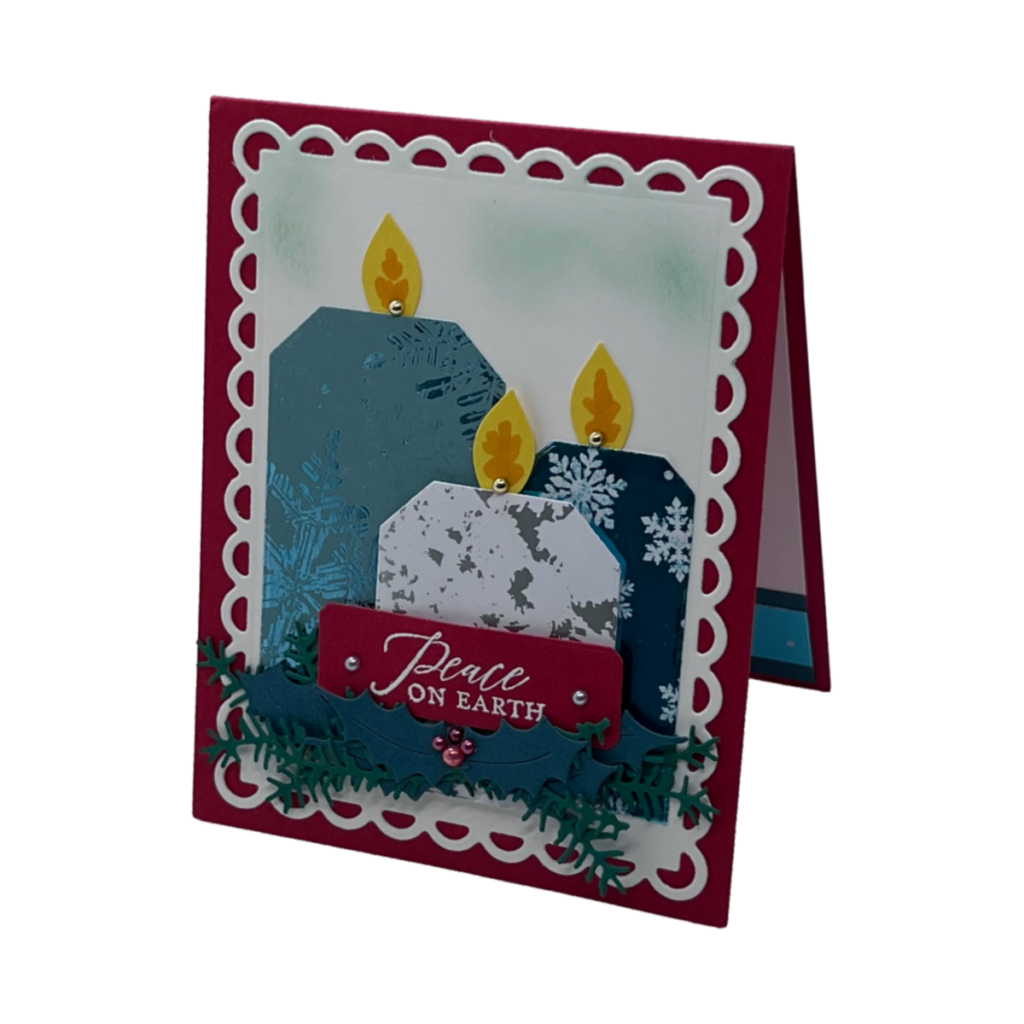
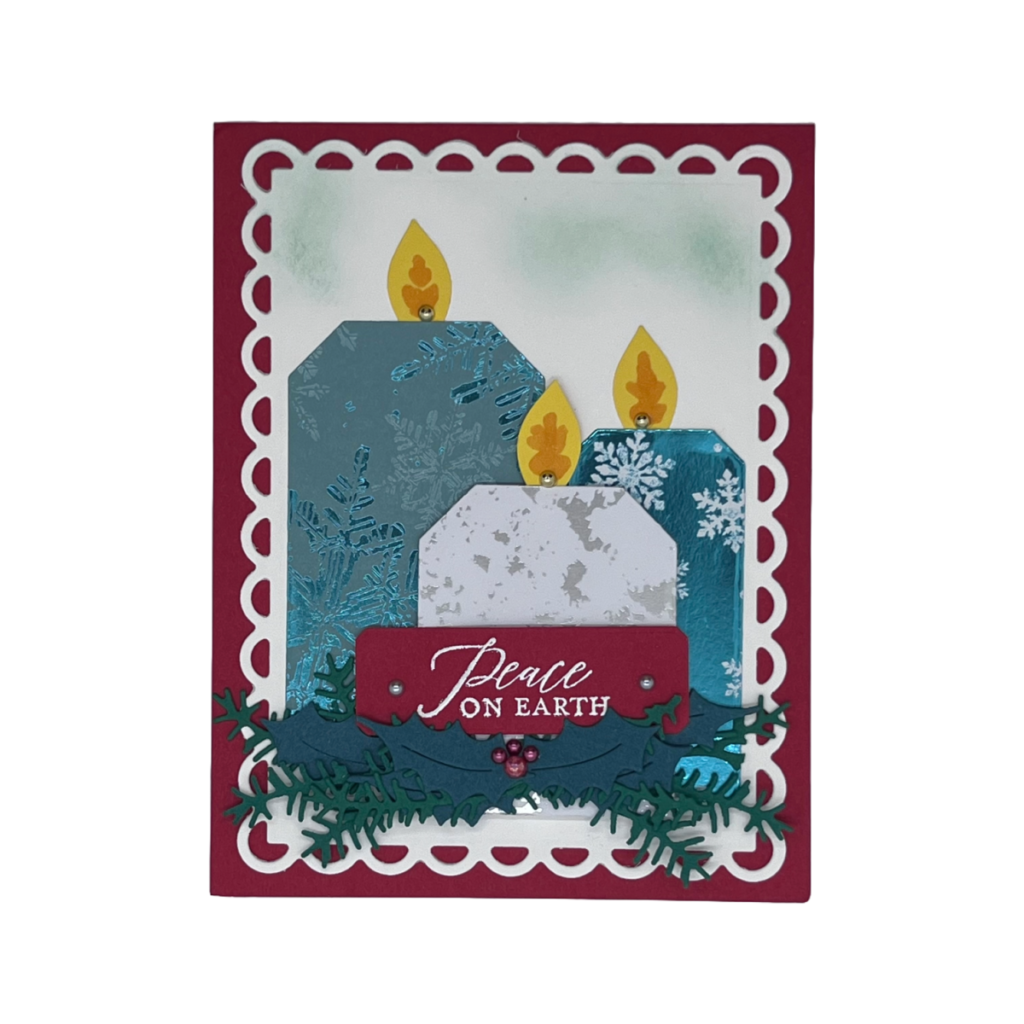
For card #2, I created a trio of candles. This card used all three pieces of the Snowflake Magic Specialty DSP. I began by determining the width and height of the candles.
I used the Very Best Trio Punch for the top corners of the candles, but this feature is can easily be reproduced with a scissors. The Petal Park Builder Punch was used to create the flames for the candles. Other punches that would also work to create a flame include the County Bouquet, Bough, Cherry, or Songbird Builder Punches. Or, go old school and cut the flame with a scissors.
I also added pine and holly leaves around the bottom of the candles, which were die cut from the Christmas Pinecone and Magical Christmas Dies. I then then heat embossed the exterior sentiment from the Regal Reindeer Stamp Set, die cut it using the smallest Countryside Corner Die frame and tucked it in amongst the Pine and holly. Finally, I embellished it with 4 Iridescent Pearls I colored with the dark Real Red Stampin’ Blends and added them as berries. I added gold Festive Pearls to the base of each flame and green festive Pearls to the sentiment.
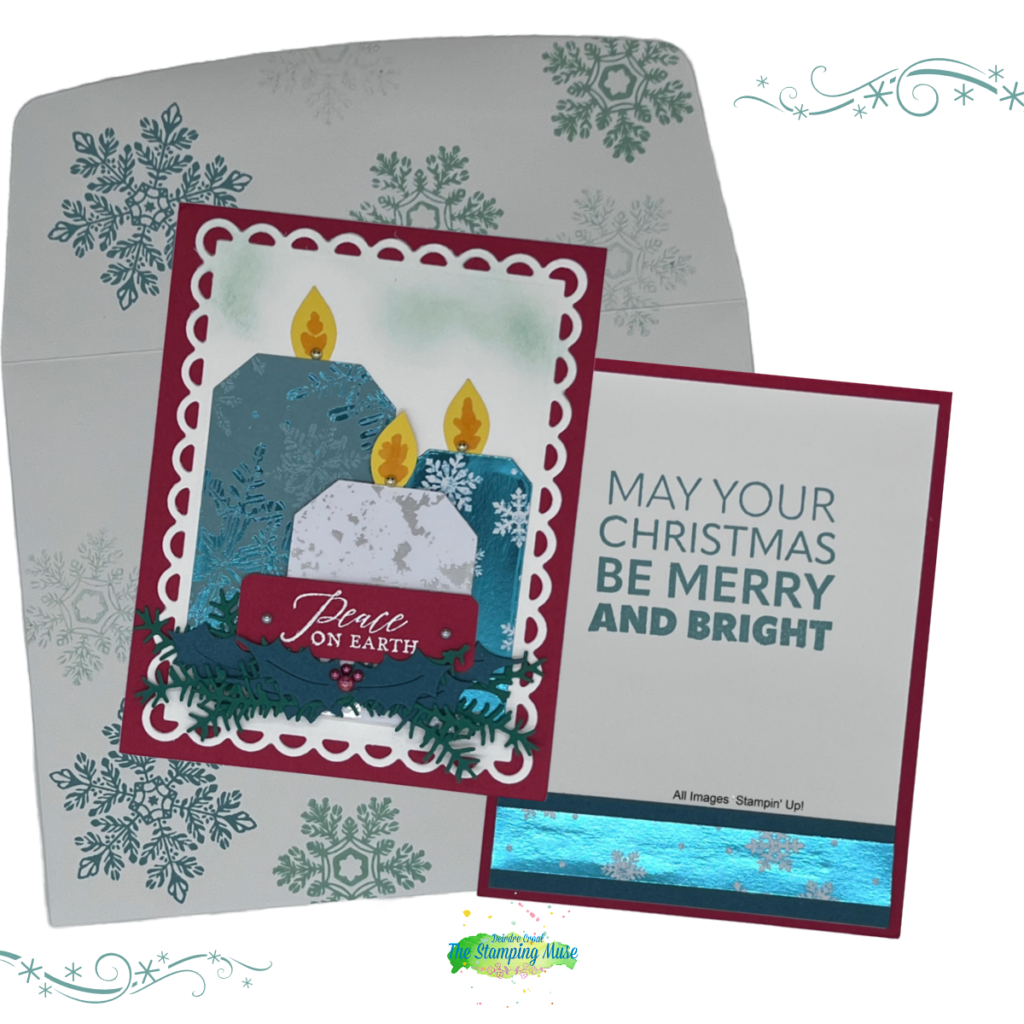
I made two changes to the interior of this card. First, I stamped the interior in Lost Lagoon Ink. Second, I centered between the top and bottom edges of a Pretty Peacock strip a narrow strip of Snowflake Magic Specialty DSP. I then added the combined strip along the bottom of the interior mat.
Need to send a Hanukkah card? The idea behind this card also translates well to represent the 8 lights of a menorah.
This card is a little more complicated, and does use die cutting and heat embossing to dress it up, but these steps are not necessary. With or without them, it is easy to reproduce and will look great.
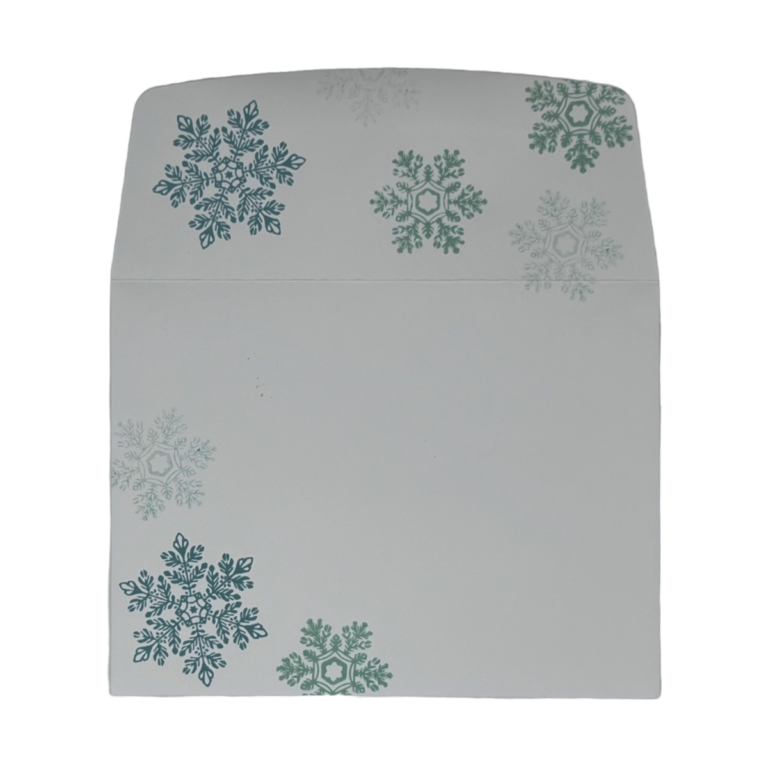
Don’t forget to decorate the envelope!
The fun of receiving snail mail begins with the envelope.
I just stamped snowflakes on the envelope flap and in the lower, left front corner with stamps from the Sparkling Snowflakes stamp set.
Other ways to decorate an envelope include:
Dry emboss the envelope flap.
Adhere DSP to the envelope flap, along the front left edge, and/or across the bottom.
Die Cut a label out of DSP large enough to adhere a mailing label of the addressee on it and still see the design of the DSP peaking out around the edges of the mailing label.
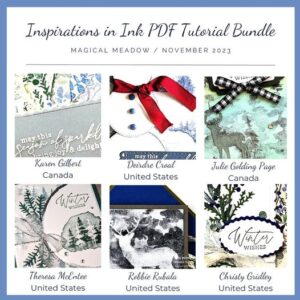
NOVEMBER'S FREE TUTORIAL
Place a $50 order with me by Thursday, November 30th and receive this month’s Inspirations In Ink Tutorial containing 6 project using the Winter Meadow Suite (Magic Meadow Bundle) and designed by talented Stampin’ Up! Demonstrators world-wide.
-PLUS-
Receive one of my customer Thank you cards with a PDF so you can create it yourself.
15% off inks, including pads, refills, markers, and Blends. Bundles are not included.
20% off papers, including cardstock, specialty paper, and Designer Series Paper.
Shop online to see the full selection of discounted products available. This is a limited time offer.
Discounts are automatically applied when sale items are added to any order, including Starter Kits.
Please note: Some items may sell out due to high demand. The discount will automatically be applied to qualifying items that are in stock. Per our updated policy, backorders are not available.


 Specialty Designer Series Paper")


")