The Stamping Muse

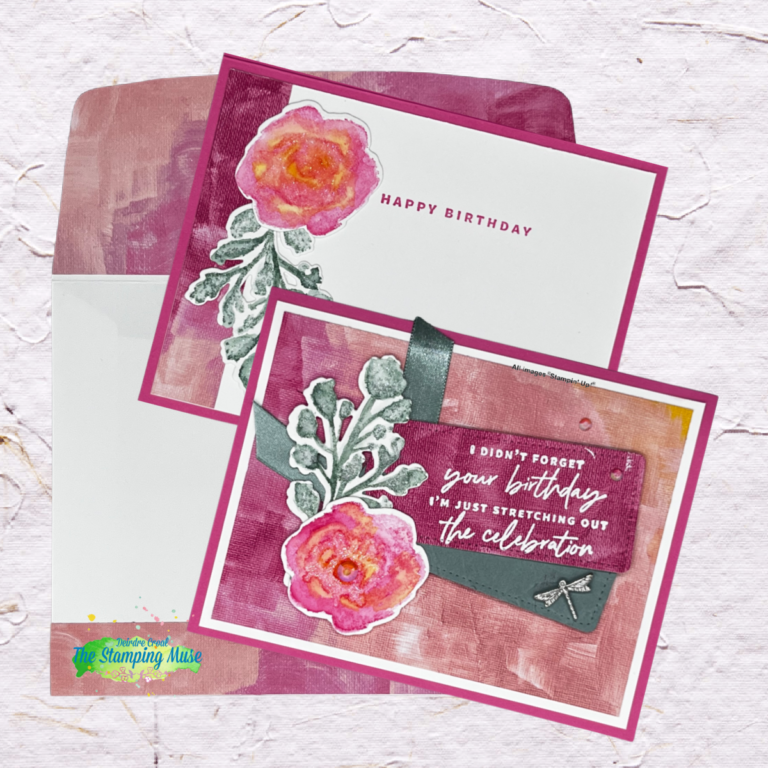
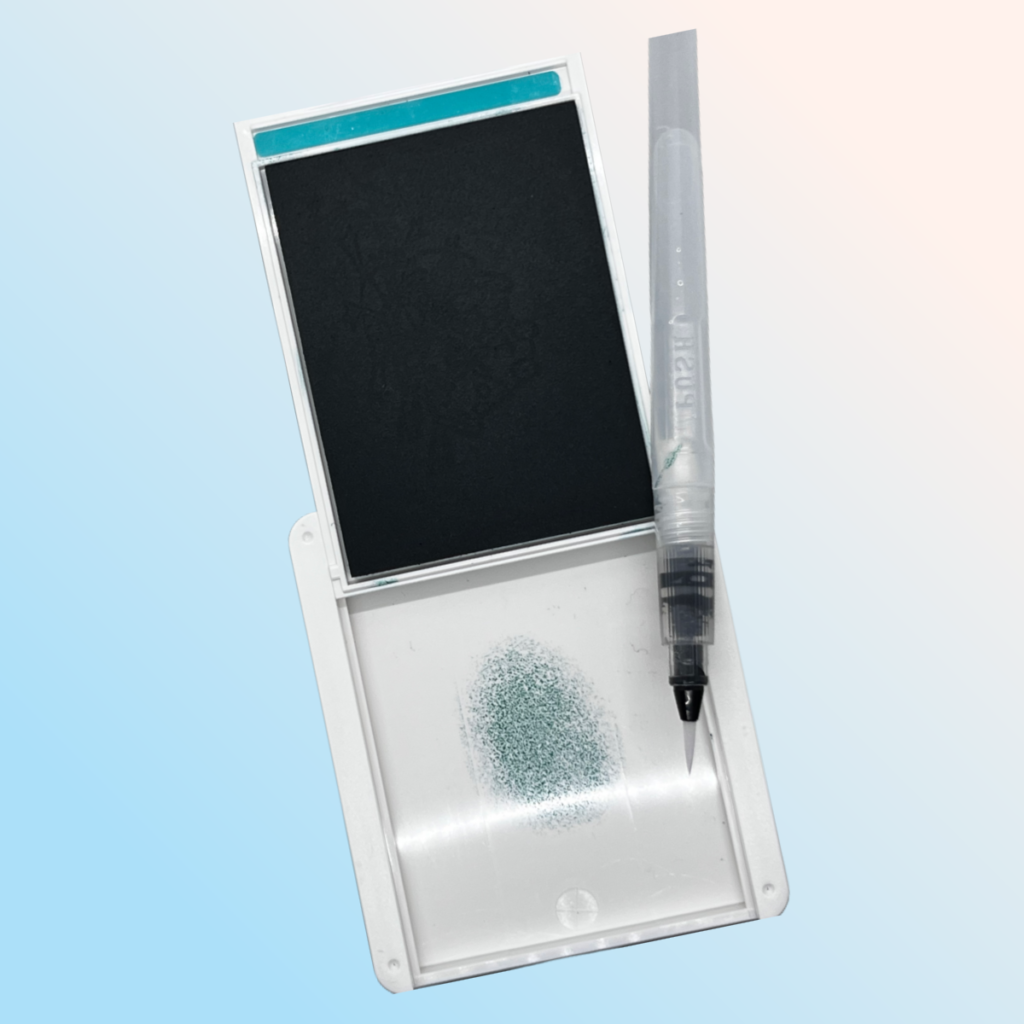
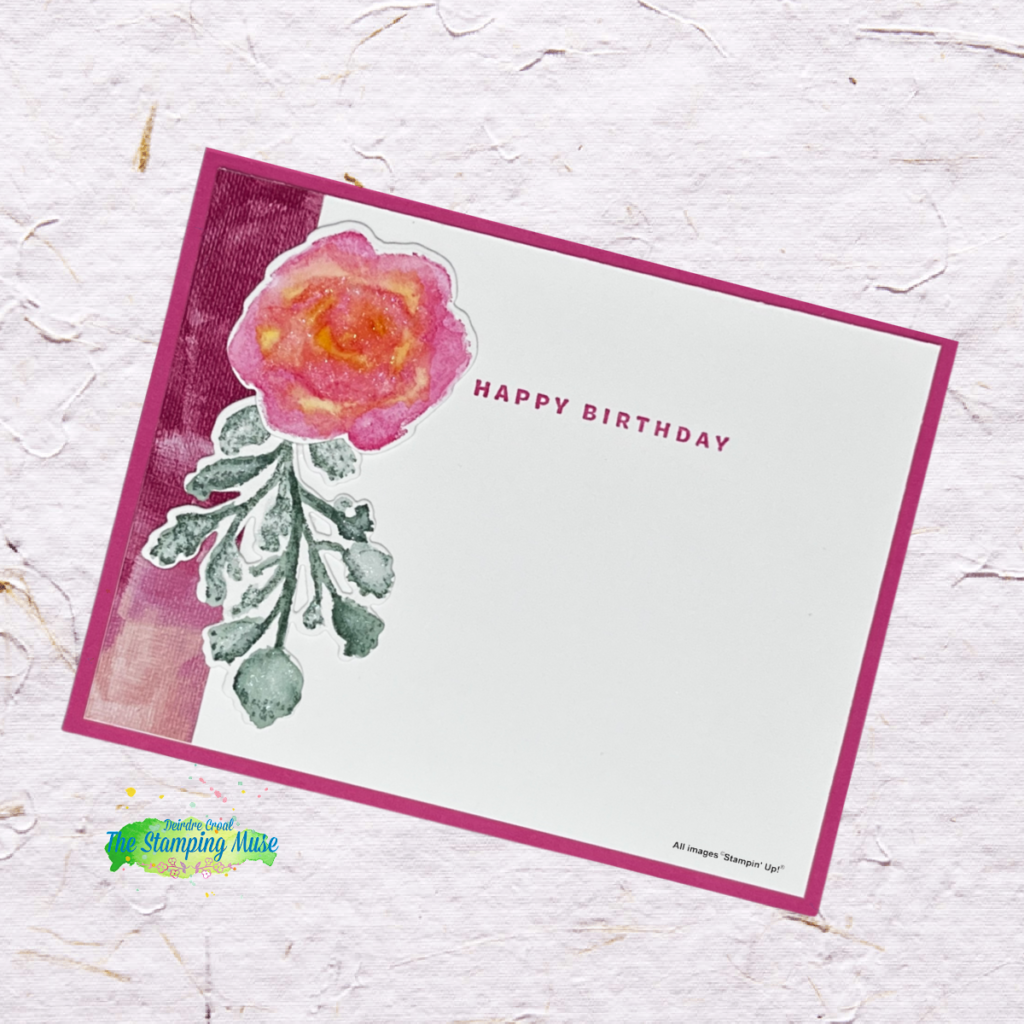
True Beauty Inspired Wet on Dry
Watercolor Technique
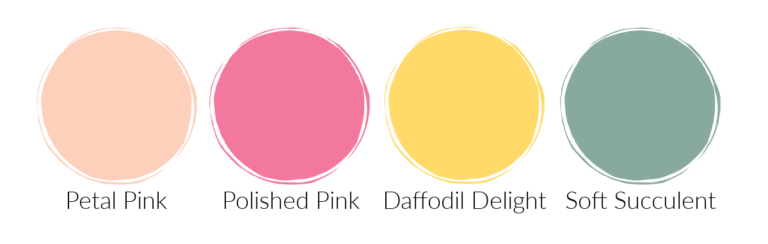
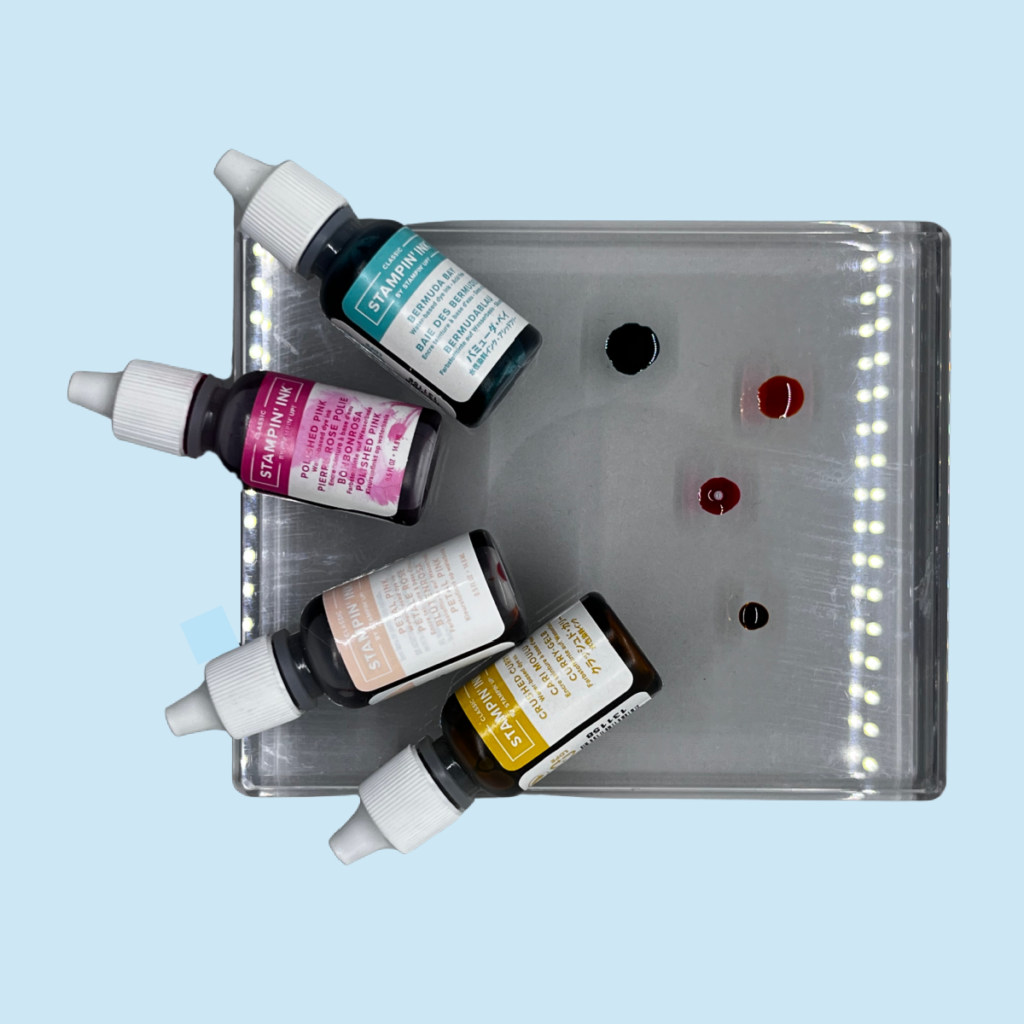
Welcome to the March 2023 Inspirations In Ink Blog Hop.

Thank you for visiting my page. The Inspirations In Ink team is a group of
Stampin’ Up! Demonstrators world-wide banning together to provide you with inspiration for creating handmade cards.

The month’s Hop will be showcasing different coloring techniques using a variety of different coloring tools available through Stampin’ Up! If you would like to see any specific technique samples in the future please let us know in the comments below.

Enjoy the hop!

This month I am focusing on water coloring with water painters and stamps. Water coloring is one of my favorite techniques. It versatile, free flowing, forgiving, and serves as a wonderful form of meditation without you even realizing it.

There are many different techniques that can be used when water coloring.
For this card I used the Wet-on-Dry Technique combined with No-Line Stamping.

Wet-on-Dry water coloring is a process of applying a wet brush with water color paint onto dry watercolor paper. This technique allows for more control of color placement without bleeding, but will leave streaks so you will need to work fast and add more water by dipping brush tip in cup of water not with the barrel. 

To layer colors let the image dry naturally or heat set it then add color. This will allowing for color depth with out blending.
For Blending color continue to add new colors to wet image. I used color blending for my flowers!

No-Line Stamping is a process of stamping an image with 2nd or 3rd generation ink. This means ink up the stamp with chosen color and stamp it off until the color is extremely light, but image is visible. This serves as the base of the image to be water colored.

My inspiration for today’s card is the True Beauty Stamp Set , Organic Beauty Dies, and the Hues Of Happiness DSP.

SELECT COLOR PALETTE

Begin by creating a color palette. For my card I chose the following colors for the floral images. . .

PREPARE PALETTE

Begin by determining what you will use for a color palette. Remember we are working with water, so you will want to select something water proof. Here are some options. .

TRANSFER INK TO STAMP PAD COVER
Use the lid of the ink pad as your pallet by squeezing the top and bottom of the ink pad together so color is picked up on the lid.

This is probably the easiest and cleanest method, but I don’t use this method because I don’t have the strength to squeeze the stamp case to transfer ink to the lid.

I am also the person who is accidentally putting my hand on an open stamp pad then proceed to make a mess.

PICK UP COLOR WITH A CLEAR BLOCKS
Set a corner of a clean block on an ink pad to pick up color.

With this option you may need to use a clean block for every color, so the inks don’t accidentally cross contaminate ink pads of another color when picking up more ink.

CREATE A PALETTE WITH RE-INKERS
Select a palette and place a drop of re-inker on a  palette. Add drops of water next to each color then pull the color into the water.

I use the Clear Acrylic F block, so I can add ink as needed and I don’t contaminate my stamp pads or the other colors. Or, stick my hand in an open ink pad leading to a mess every where.

No F Block, other options for a palette using
re-inkers include. . . ?
~ lid of the stamp case
~ old ceramic, plastic or Styrofoam plate
~ shallow Rubbermaid container
(either lid or container itself.)
~ tin box
Be creative! Just make sure it is waterproof.

NO LINE WATER COLOR TECHNIQUE

  1. From the True Beauty Stamp set, ink the blossom stamp using the Petal Pink ink pad and stamp off once then stamp onto watercolor paper.
    (This serves as the invisible base of the image.)
  2. Dip the tip of the brush in the cup of water and begin by painting the petals of the blossom with water to activate the ink stamped on the paper.

    Dip tip of brush in cup if you need more water on the paper.
    (I prefer this method over squeezing the barrel if I am working with delicate/small images because I have better control of the amount of water added to the ink or paper. This is a Wet to Dry Method, so the ink should stay in the area you add the water and not bleed out.)
    Continue layering the color until satisfied.
    Slightly drying the paper helps to control bleeding of colors and helps determine actual color depth, but you should play with it to get the feel of how the inks, water & paperwork together. Remember, watercolor lightens as it dries.

  1. Add Sweet Sorbt ink for detail on the petals and Daffodil Delight for the center of the blossom.
    Heat  set your piece now to layer colors. Continue with a different color to blend. I blended my colors!
  2. Repeat above step 1-3 with the leaves using Soft Succulent ink.
  3. When happy with water coloring the elements set aside to dry.

Assemble Card

With water coloring complete grab the following and cut the rest of the pieces. . .
~ Basic White Mat Exterior & Interior Mat
~ Hues of Happiness DSP Mat, 3/4″ x 4″ strip, & Scrap

~ White Embossing Powder and Heat Embossing Supplies

~ Soft Succulent Satin Shimmer Ribbon
~ Iridescent Rhinestones
~ Dragonfly Trinkets

Cover

1. Stamp sentiment on DSP with VersaMark ink.
2. Cover with White Embossing Powder.
3. Heat set with heat tool.

4. Die cut Heat Embossed DSP and a piece of Soft Succulent with the Tailor Made Tags Dues.

5. Die cut the water colored blossoms with the Organic Beauty Dies.

6. Emboss the Soft Succulent tag with the Painted Texture 3D Embossing Folder.

7. Adhere Basic White Mat & DSP Mat to card base.

8. Assemble the focal arrangement and secure grouping on back side tape when happy.

9. Fold the 6″ piece of Soft Succulent Satin Shimmer ribbon to the back and secure.

10. Add dimensionals to the back and adhere to card front. 

11. Embellish with 3 Iridescent Rhinestones and a sweet Dragonfly Trinket. Add a little Wink of Stella to the blossom and leaves.

Inside

1. Stamp sentiment to the right of center .

2. Adhere DSP strip to mat and arrange floral pieces.

3.Adhere to card base.

Don’t forget to decorate your envelope!

The envelope is where the fun of receiving snail mail begins.

HOP ALONG

For more inspiring Coloring Technique continue on our hop by clicking on the Blog Roll below. Don’t forget when visiting to leave them a little “love.  Please ask if you have any questions, provide let us know if there are other techniques you want demonstrated.
 

Theresa McEntee – USA

Robbie Rubala – USA 

Vicky Wright – Australia

Christy Gridley – USA  

Deirdre Croal – USA

Julie Golding Page – Canada

Karen Beck – Canada

Rebecca Nutley – Australia

FREE MARCH TUTORIAL

FREE APRIL TUTORIAL

Place a $50 order with me by Friday, March 31st and receive this month’s Inspirations In Ink Tutorial focusing on the Playing In The Rain Bundle. Tutorial includes 9 additional projects designed by talented Stampin’ Up! Demonstrators world-wide.

Plus, you will receive a one of my  customer Thank you cards with a PDF so you can create it yourself.

The April tutorial will be a Technique Tutorial filled with different ideas for using a variety of coloring tools. 

Be sure to make a $50 purchase in April to get the Inspirations In Ink Tutorial for FRE!

SUPPLIES NEEDED

OTHER SUPPLIES TO GATHER

Leave a Reply

Your email address will not be published. Required fields are marked *