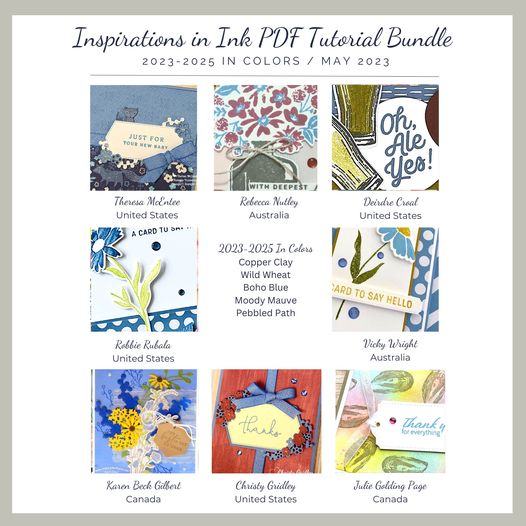
Inspiration in Ink BLOG Hop
presents the
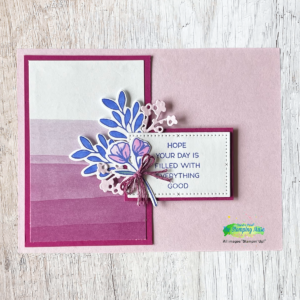
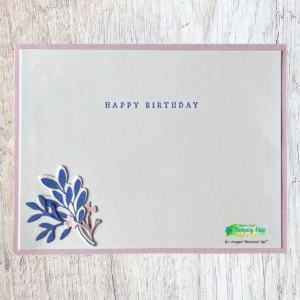
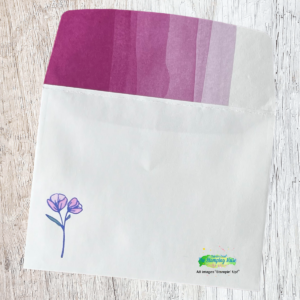
Timeless Arrangement Bundle


")
 Designer Series Paper")


Inspiring creativity and pleasure in your life
4 Comments
Theresa McEntee
So beautiful!!
Karen D Gilbert
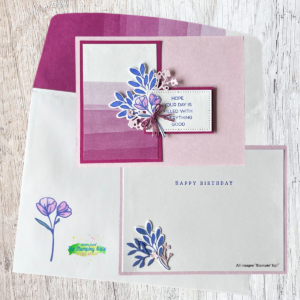
I love the simplicity of your card Deirdre. Loving that DSP
Vicky W
Lovely card Deirdre. Love your layout & colour combo
Christy Gridley
Beautiful card Deirdre!