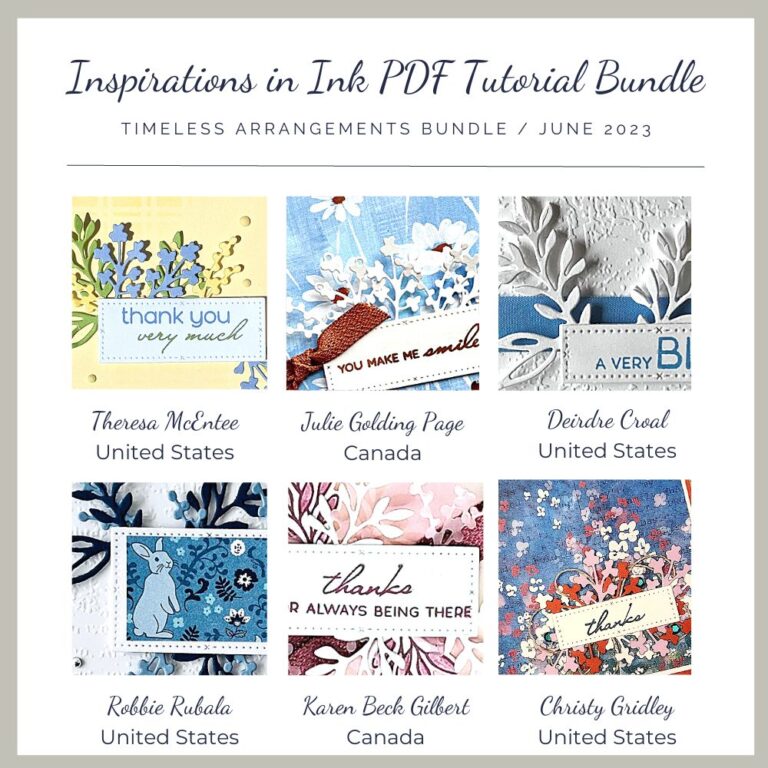
Inspiration In Ink Presents
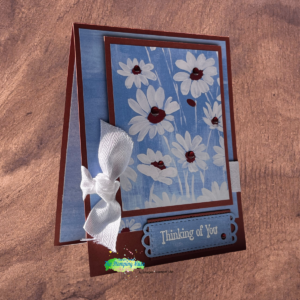
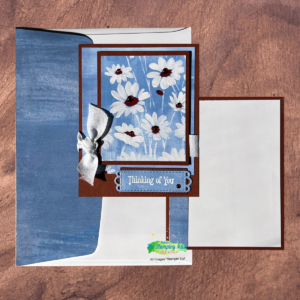
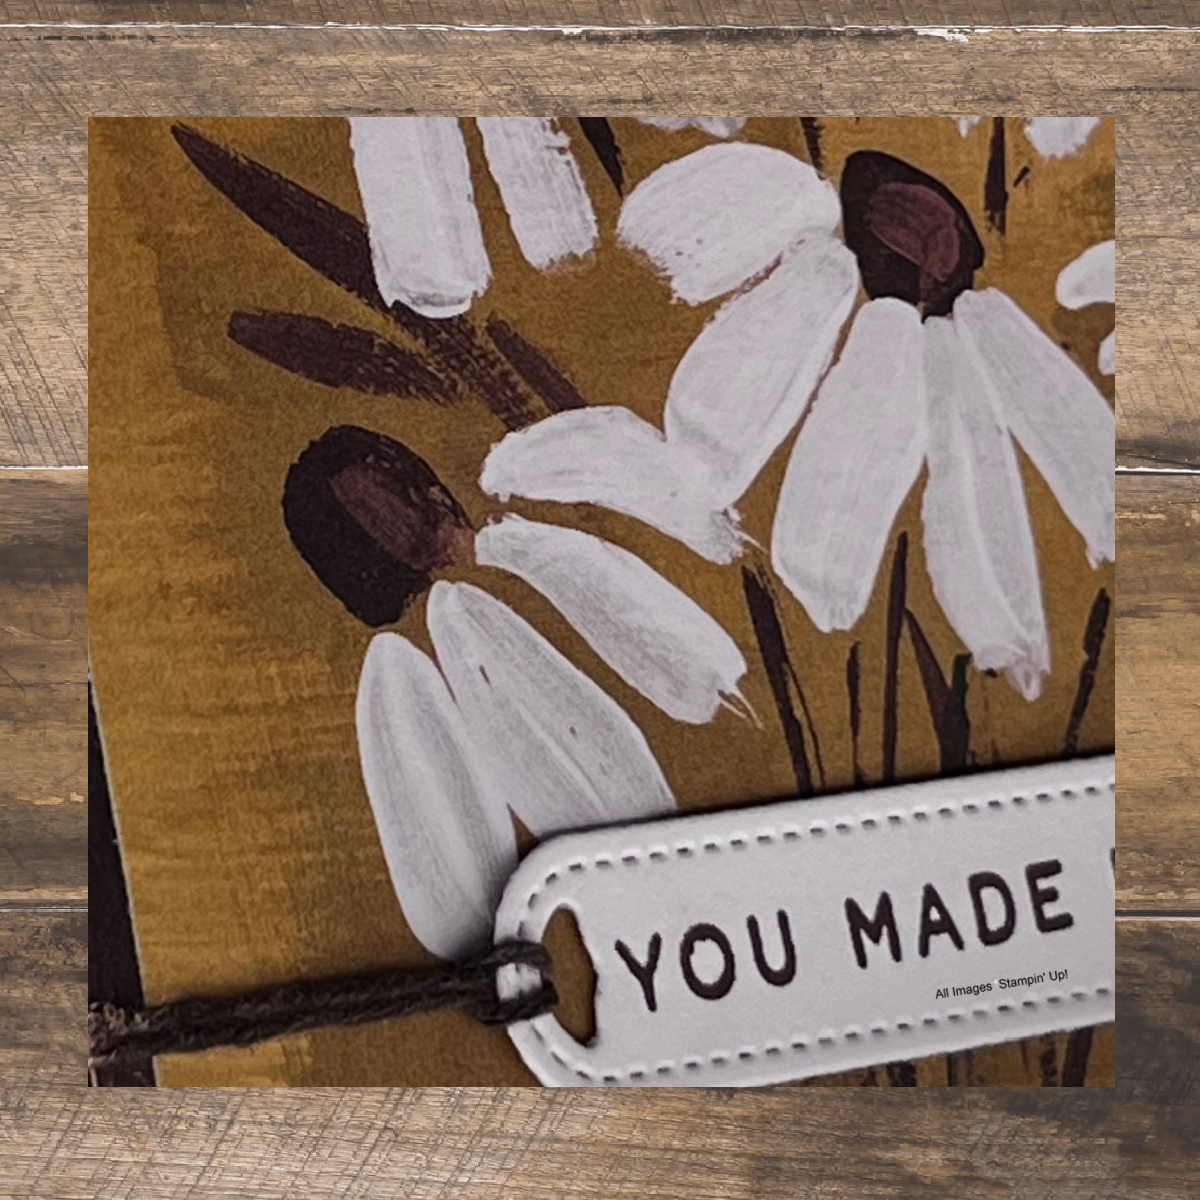
Fresh As A Daisy DSP Card Creations
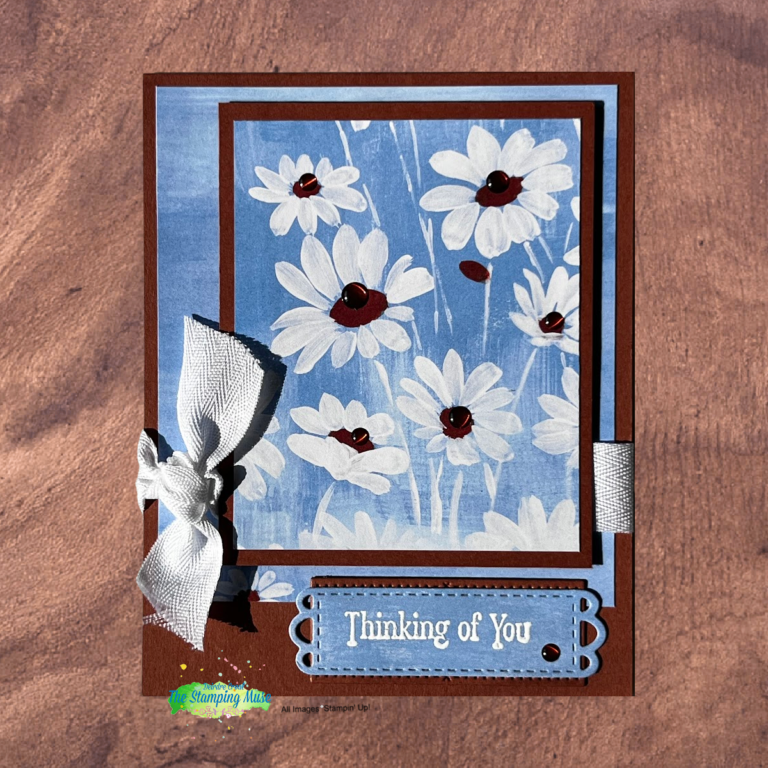
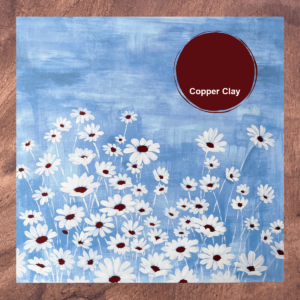
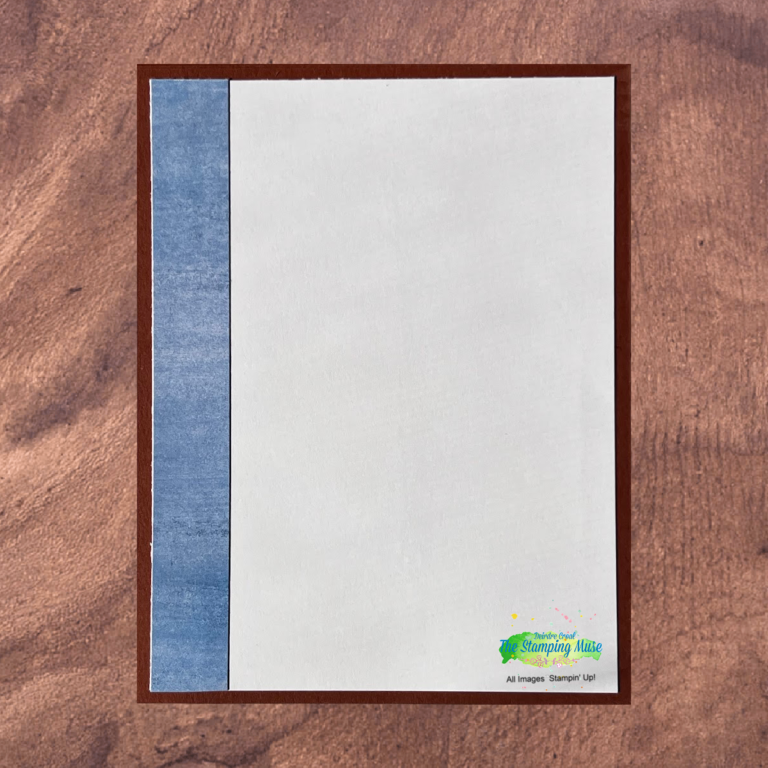

 Designer Series Paper")
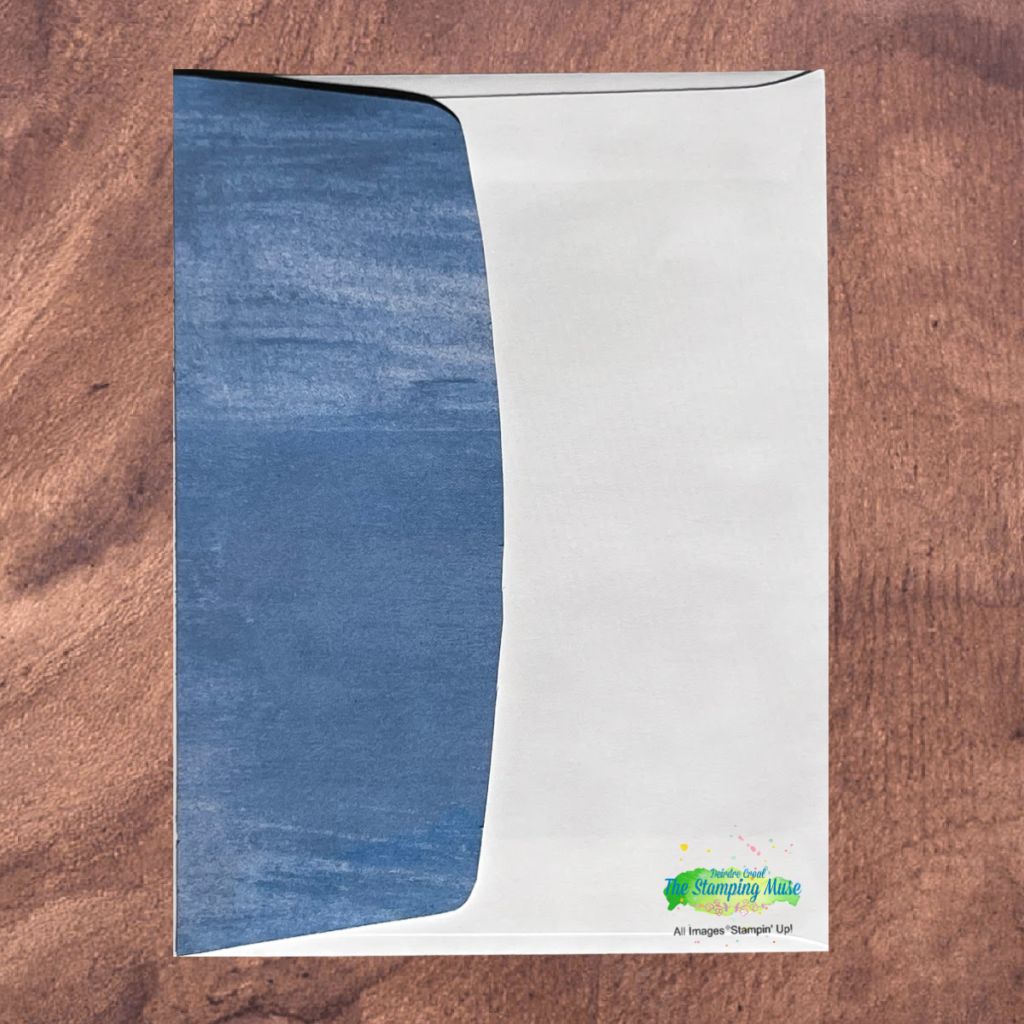
 Designer Series Paper")


")
 Herringbone Ribbon")


Inspiring creativity and pleasure in your life
3 Comments
Julie Golding Page
So lovely! I think the Herringbone Ribbon really adds something special here. I hadn’t noticed that ribbon before, so thanks for the tip!
Karen D Gilbert
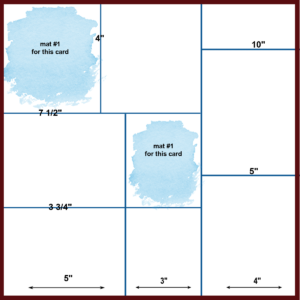
Great card Derdrie. I love the paper you chose and then used to create a one sheet wonder
Christy Gridley
Beautiful Card Derdrie!!