Stampin’ Up!’s mini catalogs are traditionally filled with seasonal stamps, papers, and embellishments, but that doesn’t mean they are only good for what the images and sentiments are intended to represent.
This cold weather set, Magical Meadows, is versatile enough to create stunning handmade cards, year-round. Today’s card does just that, repurpose the images to celebrate an unintended occasion, a birthday.
Head to your craft table and let’s create. . .
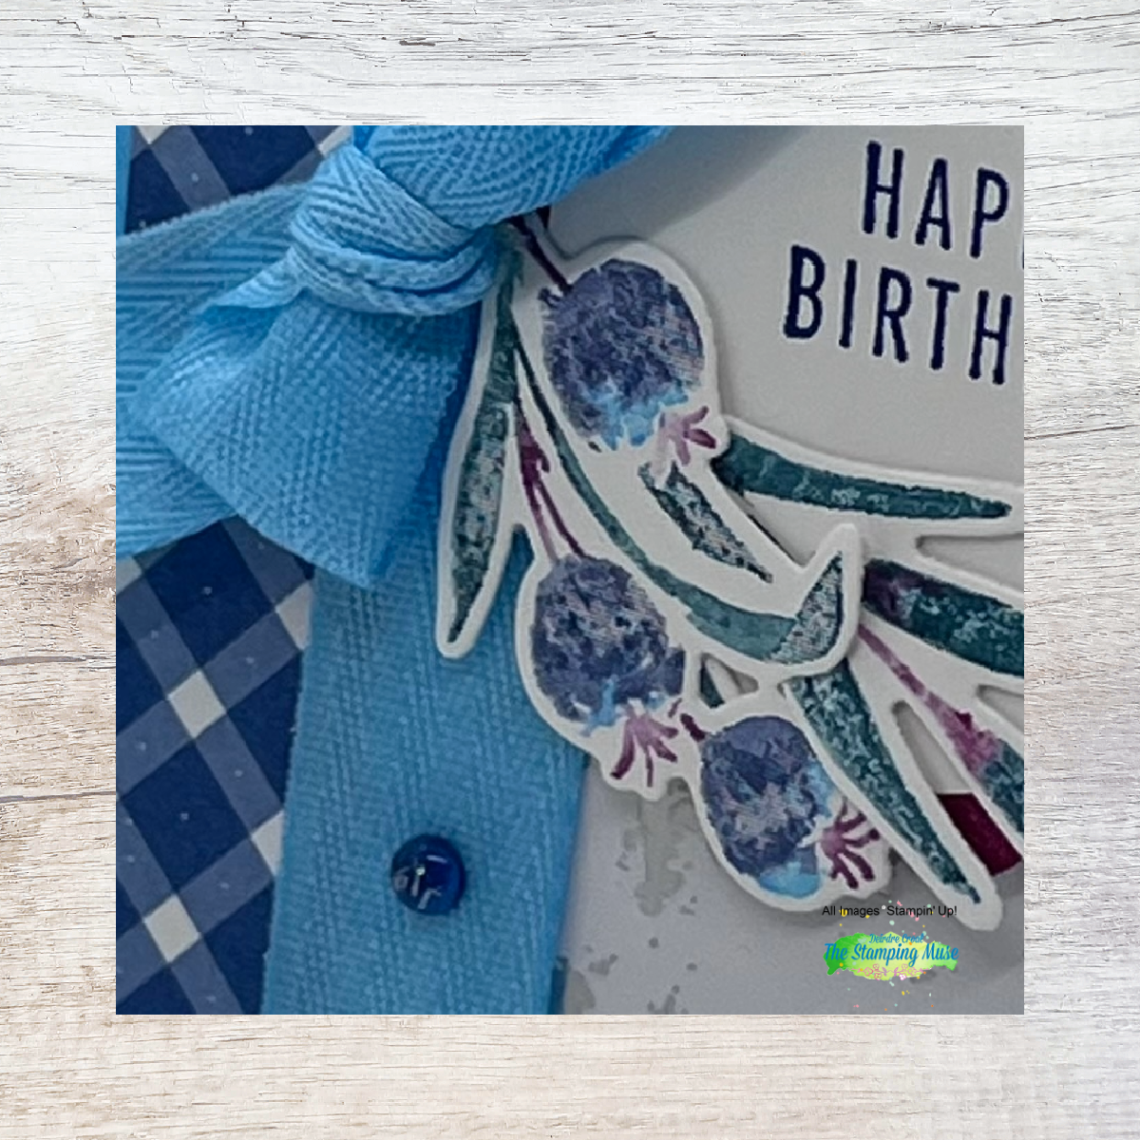
I combined the Magical Meadows stamped image and Snowflake Magic DSP with sentiments from Translucent Florals sentiments and the Glorious Gingham DSP to create this birthday card.
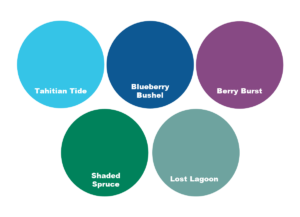
Colors include:
CARD PREP
Cut all pieces as listed in the measurements section.
Color ribbon with the Tahitian Tide Stampin’ Blends marker.
Stamp the sentiments from the Translucent Florals Stamp set in Blueberry Bushel ink-exterior sentiment on Basic White scrap and interior sentiment off centered, toward the right edge of the Basic White mat.
Color and stamp the following images from the Magical Meadows stamp set with Stampin’ Write markers: – Stems in Berry Burst – Berries in Tahitian Tide and Blueberry Bushel – Leaves in Lost Lagoon and Shaded Spruce Always apply the lightest color first. For example, color the top of the berry with Tahitian Tide, then color the rest of the berry with Blueberry Bushel making sure to blend the colors. Repeat this technique for coloring the leaves
Position and secure the coordinating dies for the berry and leave branches. Run through the SCEM (Stampin’ Cut & Emboss Machine)
With a 2″ punch or die, cut out exterior sentiment.
Punch out the Berry Burst frame with the Decorative Circle Punch from the Soft Shimmer DSP.
CARD FRONT
Flip over the 1″ strip of Glorious Gingham DSP and 3″ piece of Snowflake Magic DSP, line up the top and bottom edges, then tape them together.
Add Tear & Tape over the top and bottom seams and remove the backing.
Flip mat over and wrap the Tahitian Tide colored ribbon around the front and adhere it to the Tear & Tape on the back.
Adhere created mat to the card base.
Adhere the exterior sentiment circle to the Berry Burst decorative circle.
Arrange the leave branch behind the berry branch. When satisfied, adhere them together using Glue Dots.
Adhere focal image to sentiment circle with liquid glue.
Add dimensionals to the back of the decorative circle and adhere to card base centered between top and bottom edges with the left edge of label centered on the ribbon.
EMBELLISH
Tie a bow with the remaining piece of ribbon. Add Glue Dots to the back of the knot and adhere to the left edge of the decorative circle.
Add 3 Blueberry Bushel Tinsel Gems – 2 small in the upper right corner and 1 large in the lower left, centered on the ribbon.
ASSEMBLE THE INSIDE
Adhere the Glorious Gingham DSP strip to the right edge of the Snowflake Magic DSP strip and adhere to the Basic White mat.
Adhere the Basic White mat to the inside of the card base.
Don’t forget to decorate the envelope!
The fun of receiving snail mail begins with the envelope.
I kept this envelope simple. I added a piece of the Glorious Gingham to the envelope flap and across the bottom of the envelope front.
Other ways to decorate an envelope include:
Dry emboss the envelope flap.
Stamped the envelope flap, along the left edge, or across the bottom.
Adhere DSP along the front left edge and/or across the bottom.
Die Cut a label out of DSP large enough to adhere a mailing label of the addressee on it and still see the design of the DSP peaking out around the edges of the mailing label.
MEASUREMENT
Card Base, Tahitian Tide – 4 1/4″ x 11″ score @ 5 1/2″ (29.5cm x 10.4cm scored @ 14.6cm)
Glorious Gingham 1″ x 5 1/4″ ( 2.5cm x 14.2cm) 7/8″ x 5 1/4″ (2.2cm x 14.2cm)
Snowflake Magic 3″ x 5 1/4″ (7.6cm x 14.2cm) 5/8″ x 5 1/4″ (1.6cm x 14.2cm)
Soft Shimmer – Berry Burst Scrap
Basic White 4″ x 5 1/4″ Scrap
Herringbone Ribbon 2 pieces – 6 1/2″ (15.9cm)
NOVEMBER'S FREE TUTORIAL
Place a $50 order with me by Thursday, November 30th and receive this month’s Inspirations In Ink Tutorial containing 6 project using the Winter Meadow Suite (Magical Meadow Bundle) and designed by talented Stampin’ Up! Demonstrators world-wide.
-PLUS-
Receive one of my customer Thank you cards with a PDF so you can create it yourself.
Plan a crafting getaway today with the all-inclusive The Best Destination Kit! This kit lets you make nine tri-fold cards with a colorful, nostalgic, travel vibe. Resort-hopping was never so easy!
Light up the Christmas season with the November Paper Pumpkin kit! With traditional Christmas home designs and warm Christmas wishes, spread the light of Christmas with a gift box.
Plus, you can get the Warm Wishes Cards & Envelopes Add-On to take your Christmas crafting even further (available while supplies last).
The Rustic Christmas Countdown Kit has all you need to make a rustic, 25 day paper advent calendar. What a great way to bring a classic, cozy Christmas feeling to your home this season!


")
")
 Specialty Designer Series Paper")
 Specialty Paper")
 Designer Series Paper")


 Herringbone Ribbon")