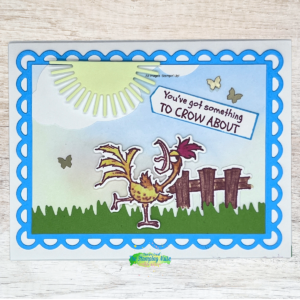
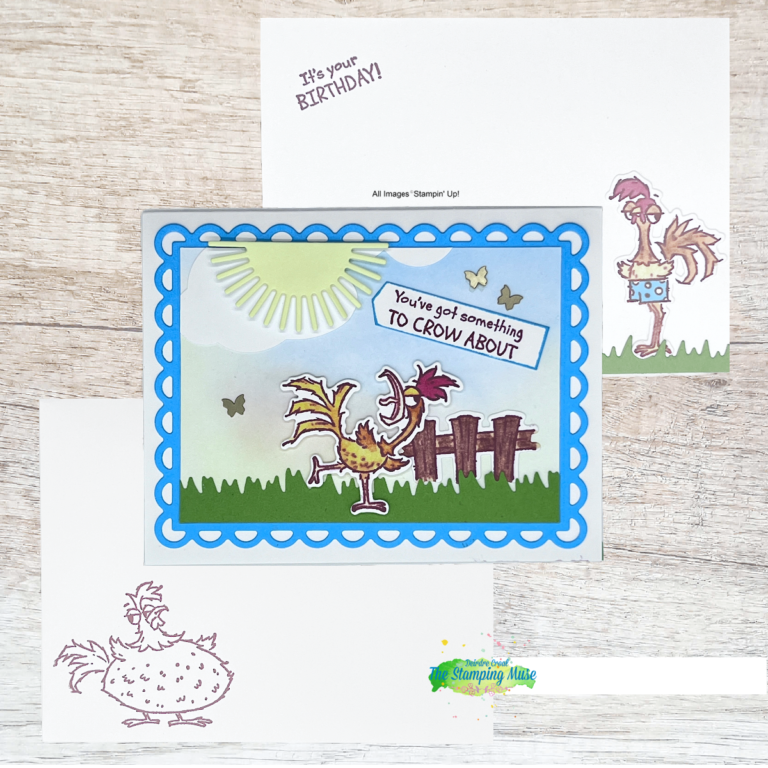
Let Chuck,the fun-loving rooster from the Hey Chuck Bundle, crow out your lighthearted messages to friends and family.
Today’s card features 2 ink blending techniques blending brushes and Stampin’ Blends alcohol markers.
Happening Now… Check out the November Inspirations In Ink Blog Hop, New kit, clearance items, and Paper Pumpkin reminder below.
Now head to your table and let’s create…
This was a fun card to create. Although it looks complicated it was very simple to create.
The colors of cardstock used are Basic White, Tahitian Tide, Garden Green, and Lemon Lolly. All the coloring was done using blending brushes and Stampin’ Blends.
Let me break it down for you.
BASIC WHITE MAT INK BLENDING
To create the sky background I used blending brushes with Tahitian Tide, Lemon Lolly, and Calypso Coral ink.
Begin by rubbing a clean blending brush onto the Lemon Lolly ink pad. Starting of the paper, gently rub the blending brush along the bottom of the Basic White mat. Continue to add ink until you are happy with the color depth. Remember this blending doesn’t have to be applied straight across and the color depth does not have to be the same intensity since we are creating a sky background.
Add Calypso Coral to a clean blending brush and blend a small amount of Calypso coral along the edge of the Lemon Lolly ink. I only added it in the center of the and toward the left edge of the Basic White mat. Be sure to blend the edges of the Calypso Coral into the Lemon Lolly. You can even blend it into the Lemon Lolly.
Finally, blend Tahitian Tide onto the remaining white space on the mat. I blended the Tahitian Tide right up to the Lemon Lolly and Calypso Coral but did not blend into them because I didn’t want to muddy my sky with green and brown colors.
STAMPED IMAGES BLENDING
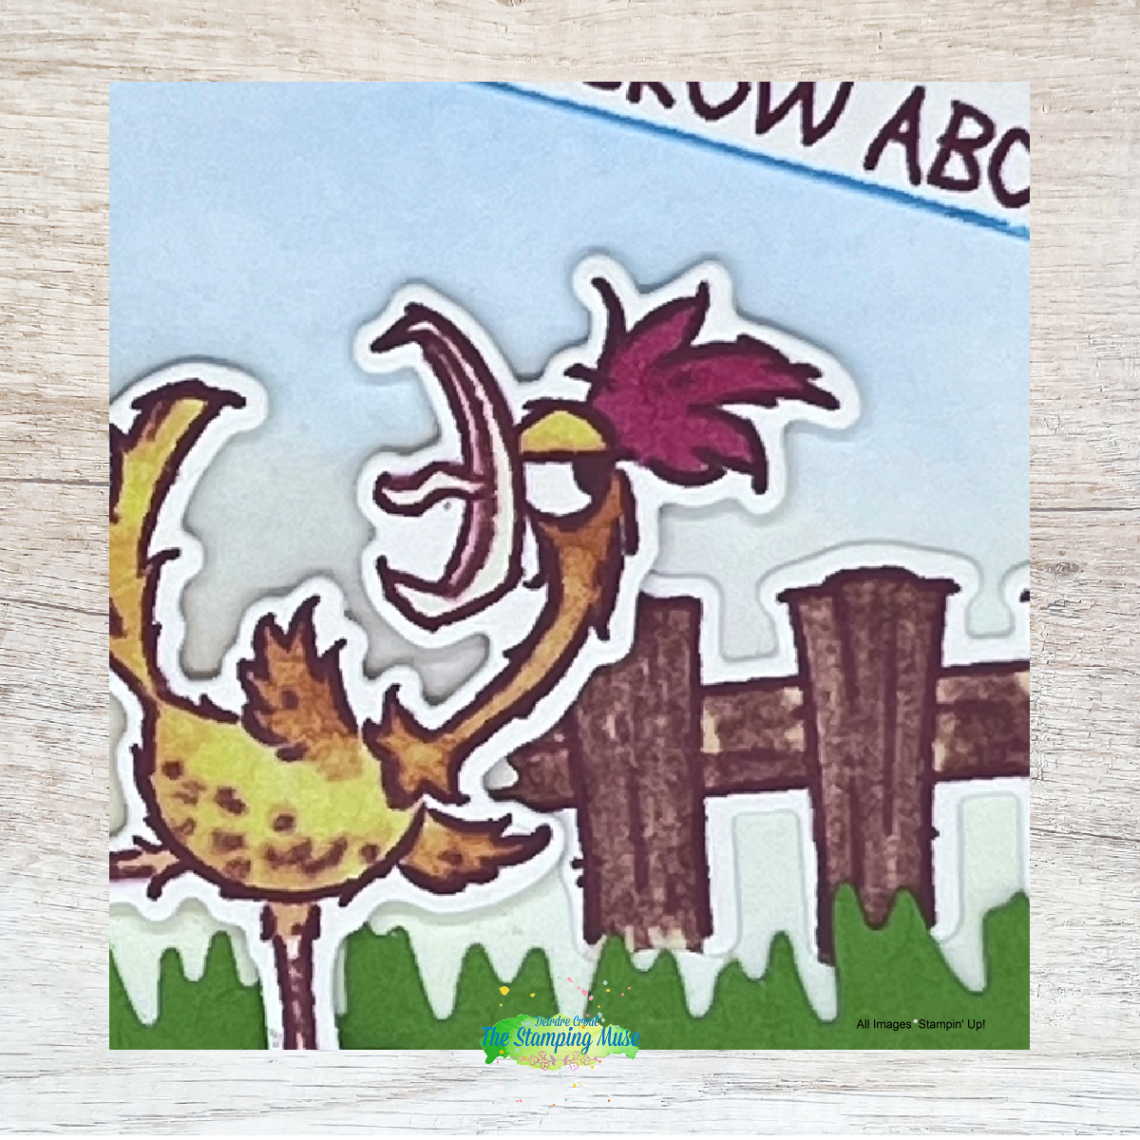
I stamped the crowing rooster, upright rooster, and the fence with Cajun Craze ink. Then colored them with Stampin’ Blends.
The roosters’ cox combs are colored with light Poppy Parade. Their necks are colored with light Pumpkin Pie. I added small lines of light Pumpkin Pie along the bottom of the eye lids, to the tip of the wings, along the bottom of his belly, and in his tail feathers. I then colored his eyes, chest and tail with dark Lemon Lolly making sure to blend in the Pumpkin Pie scribbles. I colored his toung, outer beak, and legs with dark Lemon Lolly.
The fence is colored with light Copper Clay Stampin’ Blends. I gave it a weathered look by coloring over areas of the fence with the Stampin’ Blends ink remover.
PUNCH & DIE CUT PREP
Stamp the sentiment in Cajun Craze ink on Basic White strip 2 1/2″ x 1/2″. Punch the left edge with the pointed side of the Banners Pick A Punch.
Punch 2 clouds out of Basic White scrap using the Cloud Punch.
Die cut the Tahitian Tide mat with the largest Scalloped Contours Die.
Use the Bag of Bones grass die to die cut 2 strips of grass out of Granny Apple Green scrap. If you have a different grass die you would prefer then use it, or just use a plain strip of green.
The next 4 dies are found in the Hey Chuck Die set. Die cut the sun out of Lemon Lolly. Then die cut the 2 roosters and the fence.
BUILD THE CARD
Position the clouds along the left and upper edges of the mat. Note that I trimmed my cloud at the top so only a sliver was left.
Add dimensionals to the sun and adhere it over the clouds, toward the left edge and slightly over the mats edge.
Adhere the grass along the bottom of the mat with liquid glue. Add liquid glue to the back of the fence and tuck it under the grass near the left edge. Embossing the strip of grass with the Time Worn Type 3D EF will give the card more texture.
Add dimensionals to the back of the rooster. Then adhere him to the mat over lapping the left end of the fence.
Using liquid glue pointing at an angle toward the sun.
Embellish with 3 Brass Butterflies.
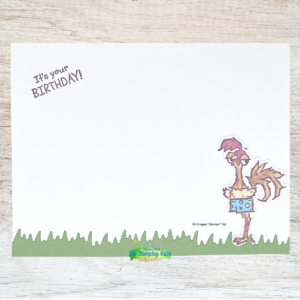
ASSEMBLE THE INSIDE
Finish the card by stamping the interior sentiment with Cajun Craze ink and adding the thin strip of grass allong the bottom edge and the upright rooster to the bottom right corner.
MEASUREMENT
Basic White Card Base 5 1/2″ x 8 1/2″ score @ 5 1/2″ Mat 4 1/2″ x 3 3/8″ Scrap
Tahitian Tide 4″ x 5 1/4″
Granny Apple Green Scrap
Lemon Lolly Scrap
Don’t forget to decorate the envelope!
The fun of receiving snail mail begins with the envelope.
I rounded out this rooster card by stamping the fat rooster with Cajun Craze ink in the front, lower left corner of the envelope.
NOVEMBER INSPIRATION IN INK BLOG HOP
I was not able to participate in the November Inspirations In Ink Blog Hop, but I didn’t want your to miss out on other wonderful examples.
Please check them out and leave a little love for these amazing designers.
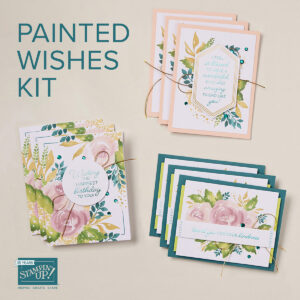
If you’re looking for a way to spread love and kindness around you then the Painted Wishes Kit is what you need! Rich in watercolor designs, colorful florals, and heartfelt greetings, this kit includes the supplies to create nine all-occasion greeting cards that will make kind words flourish all around you!
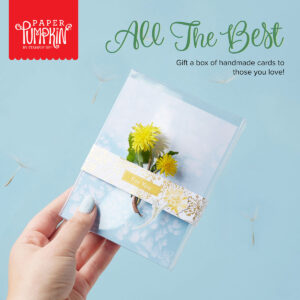
Discover messages of friendship and loyalty in the flowers from the August Paper Pumpkin Kit! This kit includes 8 cards, 4 each of 2 designs, and 8 coordinating envelopes.