Hoot Hoot Cute
Valentine’s Day Cards
I have 2 questions for you:
1) Do you have your Valentine’s Day Cards completed?
2) Do you have the Adorable Owl stamp set from the SALE-a-bration Catalog?
If you answered no to both questions, what are you waiting for?
The Adorable Owl set is free with a $50 purchase during SALE-a-bration and makes darling Valentine’s Day cards for all the kiddos in your life, big and small.


This card was so fun to make and allowed me to use one of my favorite mediums –
watercolor pencils.
- Card Base, Inside Mat, Tag – Basic White
- Mat 1 (2) – 4” x 5 ¼”, Sahara Sands
- Mat 2/DSP design 1 – 3 ¾” x 5”, Happy Forest Friend
- Mat 3/DSP design 2 – 3 ¾” x 3 ¾” Country Gingham
(The height can vary depending on image stamped image or tag being used.) - Inside Mat – 3 ¾” x 3 ¾”, Basic White
- Scraps – Sahara Sands, Sweet Sorbet, Balmy Blue, and Basic White
DIRECTIONS
- Cut/die cut all pieces. Cut Gingham Cottage piece in half diagonally.
- Add Tear & Tape to the straight outer edges of the Country Gingham DSP leaving the diagonal edge adhesive free. Line up with the left and bottom edge of DSP and adhere. Then adhere to the Sahara Sands mat.
- Place a piece of Tear & Tape on the back of the compiled mat by the points of the Country Gingham DSP. Run a piece of ribbon along the diagonal edge of the DSP and adhere to back of mat. Adhere to card base.
- Position die cut tag in the diagonal pocket, so you know where NOT to stamp.
Stamp your tag and inside mat – Early Espresso for the Owl and Sweet Sorbet/Balmy Blue for the sentiments. (I used my Stamparatus to stamp the tags, so I could do stamping all at once). - Color your tag and inside mat with Watercolor Pencils – Early Espresso for the dark part of the Owl; Calypso Coral for tummy, inside of ears, and feet; Daffodil Delight for the beak; and Old Olive on the Sweet Sorbet cards and Balmy Blue on the blue cards for the eyes.
- Blend and smooth all coloring together with a Blender Pen or Watercolor Painter.
- Add ribbon to the tags.
Add adhesive to the back of the tags and tuck into pocket and adhere.
Wink of Stella your hearts and add to card. - Finally, place a strip of DSP on the bottom of inside mat, adhere to remaining Sahara Sands mat and add to card base.
Don’t forget to decorate the envelope! The envelope is where the joy of receiving snail mail begins.
I finished my envelope by adding a piece of coordinating paper to the envelope flap.
Other ways to finish the envelope include: embossing the flap, or stamping the flap and lower left front corner.

FREE OFFERINGS OF THE MONTH

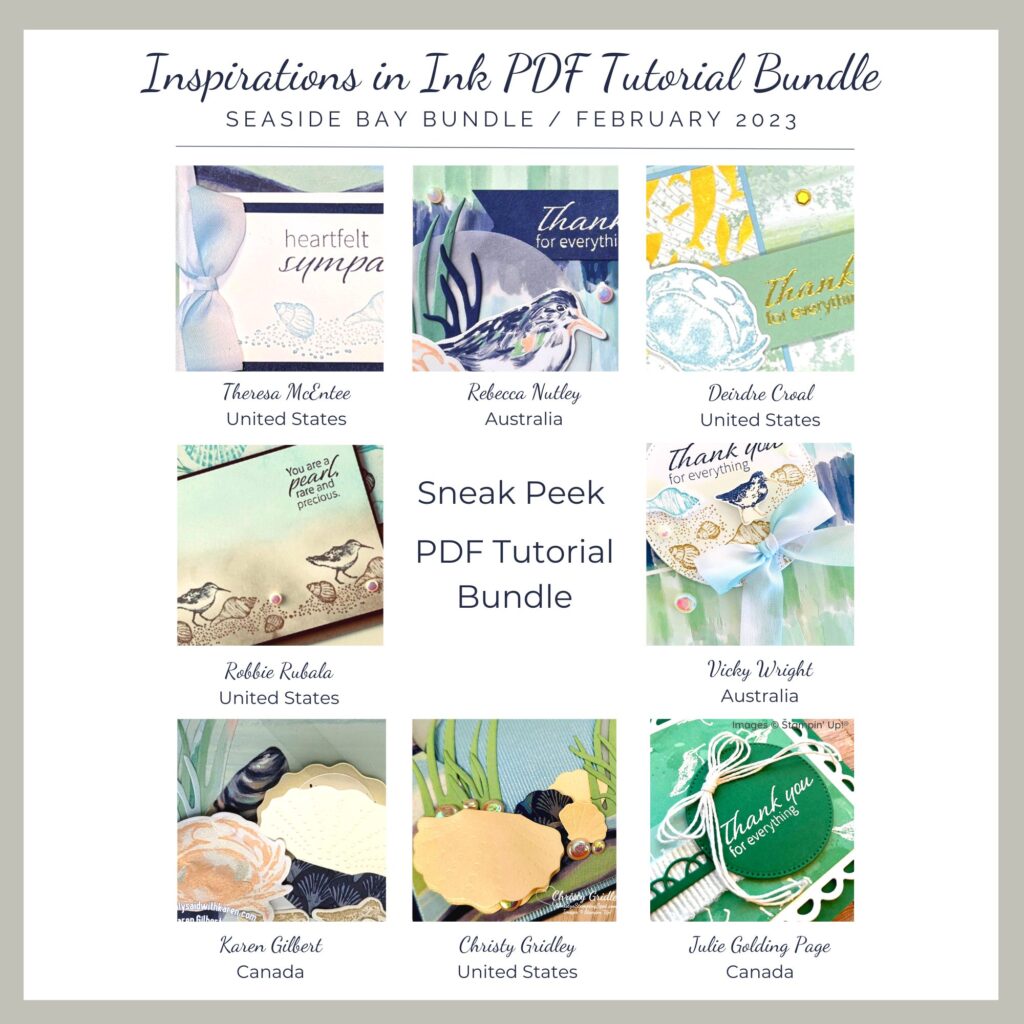
Place a $50 order with me by Tuesday, February 28th and receive this month’s Inspirations In Ink Tutorial, which focuses on the Seaside Bay Bundle and includes 8 additional projects designed by talented Stampin’ Up! Demonstrators world-wide.
Plus, you will receive a one of my customer Thank you cards with a PDF so you can create it yourself.

JOIN THE STAMPING MUSES
Join my team during SALE-A-Bration and you will receive:
The exclusive Boho Blue Mini Stampin’ Cut & Emboss Machine ($63 value) + $175 worth of product for $129.
-OR-
Opt for the Mini White Stampin’ Cut & Emboss Machine ($63 value) + $175 worth of product for $129.
JUST WANT PRODUCT
$99 will get you $125 worth of Stampin’ Up! product.
SALE-A-Bration ends February 28th, so sign up today!
SUPPLIES


