Wisteria Wishes Farewell
You Will Be Missed
0000000000000
Wisteria Wishes is one of my favorite Bundles from the 2022-2023 Annual Catalog and I am very sad to see that this bundle is not carrying over to the new catalog. I have shared this bundle with you earlier this year, but wanted to show you a few more of my creations using this set.
Don’t forget to check out the LAST CHANCE LISTS below.
Enjoy!


Card #1: An arbor walkway of wisteria.
The background is was created by washing Fluid 100 Watercolor Paper with Fresh Freesia and Highland Heather in using Water Painter. The sentiments were stamped on the water colored washed scraps in Gorgeous Grape then die cut.
Some of the branches were stamped in Granny Apple Green and Shaded Spruce using the Rock ‘n Roll Technique, while others were die cut from Granny Apple Green card stock. the lilacs were stamped in Fresh Freesia, Highland Heather, and Wink of Stella. All pieces were them die cut using the matching dies. 2 pieces of the vine die were also cut from Crumb Cake card stock.
All arbor pieces were cut from Crumb Cake cardstock. The bottom z-fold was inserted into the Bricks & Morter 3D EF. the 2 posts and top z-fold were inserted into the Timber 3D EF. Then the texture of all pieces were highlighted by blending over them with Merry Merlot and Soft Suede ink.
Then the card was constructed, which meant cutting some of the Granny Apple Green Branch to arrange them with the stamped branches.
The card was finished off with Pastel Pearls.


Card #2 is a traditional card with a see through twist.
- Cut card base, 4 1/4″ x 11″ scored at 5 1/2″. Fold card base and score.
- Reopen base and trim of card front at 1 1/4″ below the score line. Cut another 1 1/4″ piece from the scrap.
- Cut a piece of Window Sheet 4 1/8″ x 11″ and adhere to the back side of the top 1 1/4″ edge slightly below the score line with Tear & Tape.
- Adhere the remaining 1 1/4″ piece of DSP to the bottom edge of the Window Sheet with Tear & Tape.
- Cut DSP (2 – 4″ x 1″, 2″ x 5 1/4″). Position and adhere the larger DSP strip on the left edge of the Window Sheet making sure to leave 1/8″ border.
- Place the DSP strips along the top and bottom card stock pieces lining both left edges up with the previous adhered piece of DSP.
- Stamp sentiment on interior Basic White mat toward the right edge and the branch on Basic White scrap.
- Adhere the interior mat to the card.
- Die cut the branch with coordinating die, 2 pieces of the bottom Wisteria layer, and 3 pieces of the top Wisteria layer.
- Position branch on the left edge of Window Sheet. Arrange 2 bottom pieces on the outer stems. Position the other 3 pieces on all 2 stems.
- Add embellishment where the stems meet the flowers.
Don't forget to decorate the envelope!
The envelope is where the excitement
of receiving snail mail begins.
Ways to decorate an envelope include:
- Dry emboss the envelope flap.
- Stamped the envelope flap, front lower left corner,
or across the bottom. - Adhere DSP along the front left edge
and/or across the bottom. - Die Cut a label out of DSP large enough to adhere a mailing label of the addressee on it and still see the design of the DSP peaking out around the edges of the mailing label.
FREE APRIL TUTORIAL
FREE MAY TUTORIAL

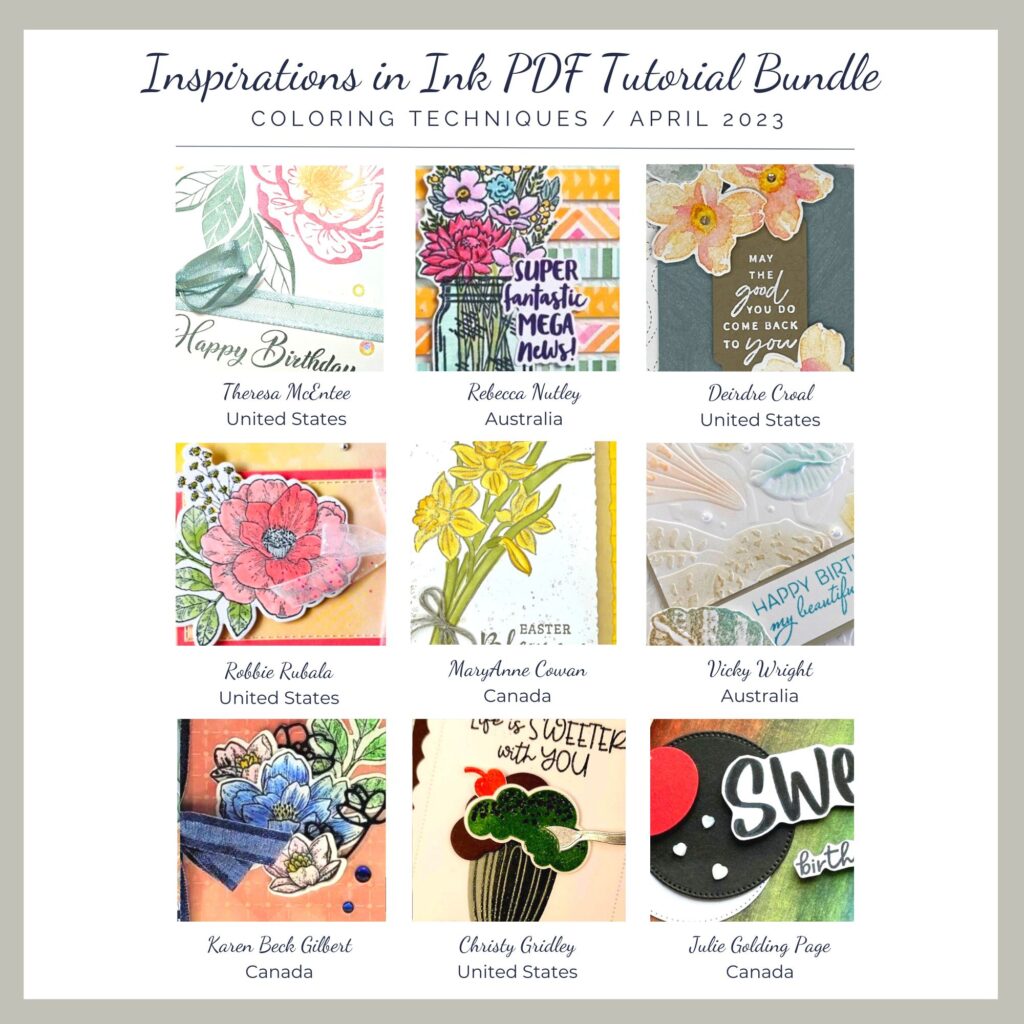
Place a $50 order with me by Sunday, April 30th and receive this month’s Inspirations In Ink Tutorial, which focuses on different coloring techniques. It includes 9 additional projects designed by talented Stampin’ Up! Demonstrators world-wide.
-PLUS-
Receive one of my customer Thank you cards with a PDF so you can create it yourself.
Place a $50 order with me during May and receive the Inspirations In Ink tutorial presenting the new In Colors with a stamp set that will be carrying over to the 203-2024 Annual Catalog. It includes projects designed by talented Stampin’ Up! Demonstrators world-wide.
-PLUS-
Receive one of my customer Thank you cards with a PDF so you can create it yourself.
LAST CHANCE LISTS
2022-2023 ANNUAL CATALOG
Click to view.
2023 JA MINI CATALOG
Click to view.
PRODUCTS NEEDED
SUPPLIES TO GATHER


